By Dave Hartsock for Dave’s Computer Tips
Restore a Windows 7 System Image
In the previous article we created a system image, using the built in Backup and Restore function of Windows 7, to create a backup of your computer that will allow you to completely recover your files, pictures, email, and settings should you experience a computer “disaster”. Seems all well and good, but what do you do with this image when disaster strikes? Well, let’s get down to the nitty gritty and see how we can restore your computer to the exact state it was in when the image was created!
There are two scenarios that you might find yourself in: 1) Windows boots, but something is way wrong. 2) Windows won’t boot and something is really way wrong. Both can be restored, but the methods are a tad bit different.
Restoring a system image to a bootable computer
1. Click the Windows Orb to open the Start Menu. Type Backup in the search box and press Enter.
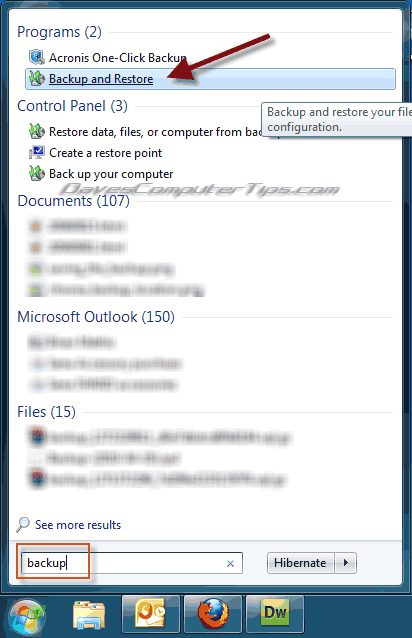
2. You will find Backup and Restore listed near the top. Click Backup and Restore to open Backup and Restore control panel window.
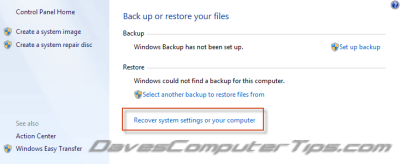
3. Clicking Recover system settings or your computer will change the window to show recovery options, including system restore.
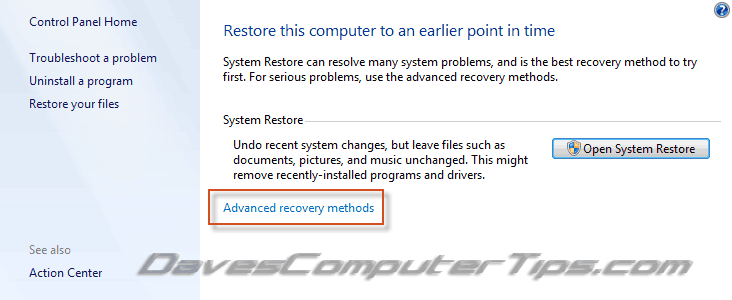
4. Since we are restoring a system image we need to use Advanced recovery methods. Click Advanced recovery methods and you will be presented with the advanced options.
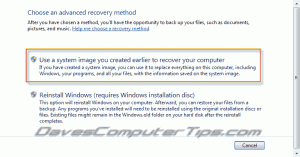
5.The first option is the one we want so click Use a system image you created earlier to recover your computer to open the Backup window.
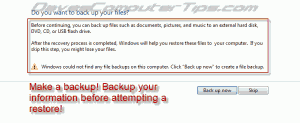
Wait, don’t you already have a backup? Isn’t this redundant? Well, Windows wants to backup critical files that may have changed since your system image was created. This is to ensure you don’t lose any important documents or files. It’s a wise decision to perform this backup!
6. Click Backup now and Windows with automatically start the backup program in a new window.
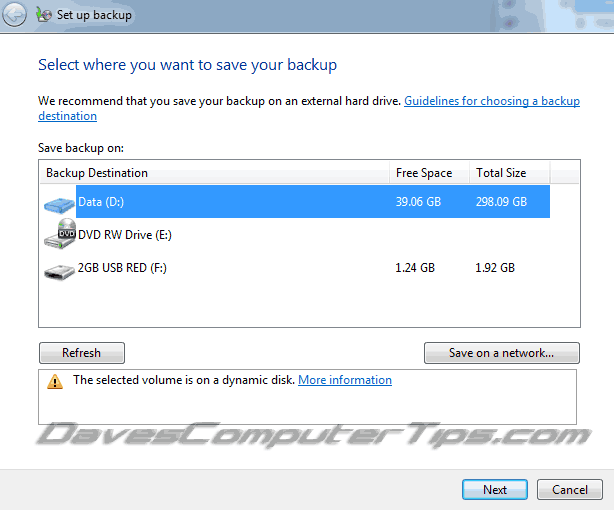
7. Choose a backup location, which can be an internal hard drive, external hard drive, DVD burner, USB drive, or network location. This location can be the same as the system image if there is enough room. Click Next.
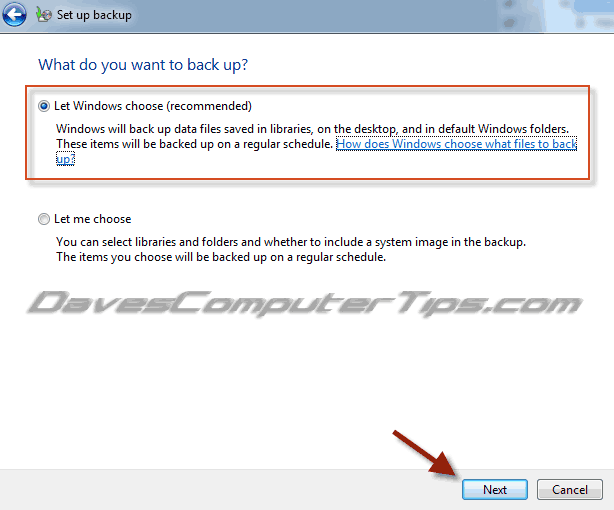
Click here for additional detailed instructions
This excerpt is shared with permission from davescomputertips.com.


