Sometimes after every avenue you’ve gone down, the road ends and you’re left with doing an Operating System reinstall. No one ever enjoys doing this, but it does provide you a way to reset Windows while still keeping all of your settings, applications, data and files unchanged. Conveniently a Windows 10 reinstall allows you to fix problems without having to format your computer and lose everything.
Things you’ll need for this process:
- A Windows 10 Setup DVD or USB drive. You cannot follow these instructions without one.
- You can read about making a Setup USB from Microsoft here: Setup USB
- You will also need to be able to boot into Windows 10 like normal to be able to follow these instructions, if something is wrong with the boot process these steps will not work.
This Windows 10 install can be used to fix system files, registry keys, and restore the configuration to a known working state without deleting your files, settings or the software that you have installed. This is not the same as formatting your drive and doing a clean install of Windows 10, as this is your last resort to restore your Operating System to a working state without losing any of your data or software.
When to repair install Windows 10
Performing this Windows 10 install can possibly fix the following:
- Windows 10 start menu not working
- Windows 10 metro apps not working
- Corrupt system files due to viruses
- Failed Windows 10 updates and upgrades
- Bad Windows Update
Windows 10 repair installation
1. The first step to this process is inserting your setup media into the computer. If you made a USB then plug it into the computer, or insert the DVD into the disk drive. If you have a Windows 10 ISO image, double-click the ISO image to mount it as a virtual DVD instead.
2. If you’re not prompted to run setup.exe from your drive or DVD, navigate to them in Windows Explorer and run setup.exe to begin the process.
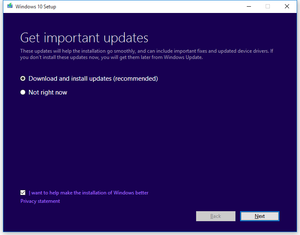
3. The process starts with getting the important updates, you should select download and install updates.
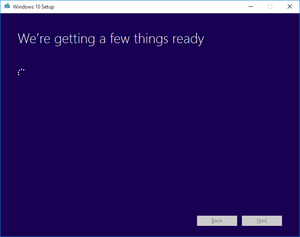
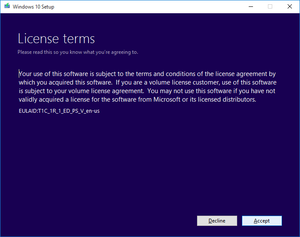
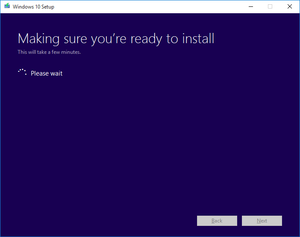
4. You’ll get a series of dialog boxes as you go through this process, simply click through them as they come up to continue the process until you get to the last page:
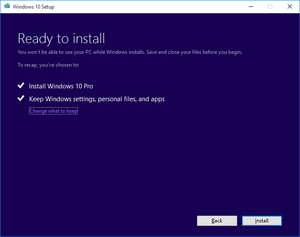
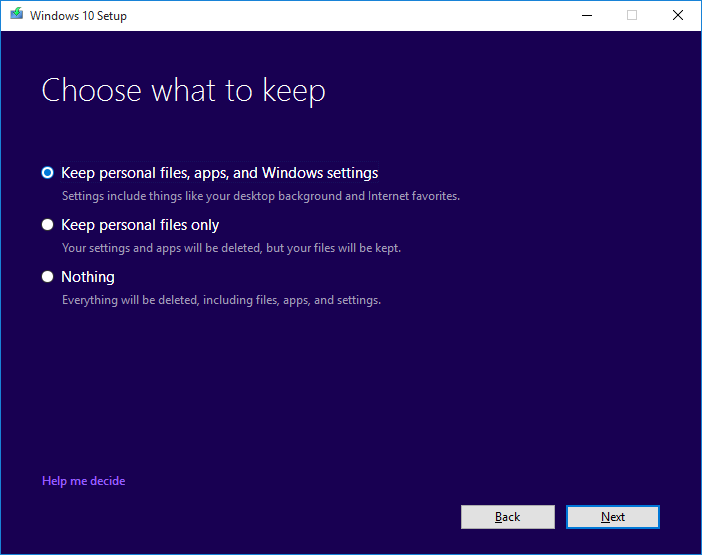
5. The last page is where you will choose what you want to keep. IMPORTANT make sure you choose the first option to: “Keep personal files, apps, and windows settings” and then press Next.
6. During this process your computer is going to restart several times, don’t be alarmed. Your documents will remain safe as long as you selected the important option above.
That’s it, once this process has finished you’ve completed your repair install of Windows 10.
Original guide and images by NeoSmart and can be found here: Original