
The VPN kill switch is a critical security feature, and PC Matic VPN makes it easy to enable. This guide walks you through the simple process of activating this “digital emergency brake” to prevent data leaks.
What is a VPN Kill Switch?
For a full understanding of what a kill switch is and why it’s essential, read our complete guide to VPN Kill Switches.
In short, a kill switch immediately stops all internet traffic the second your VPN connection drops, ensuring your real IP address and unencrypted data are never exposed.
Step-by-Step Instructions
Step 1: Logging into PC Matic VPN
- Enter the email address associated with your PC Matic account, click Send Verification Code.
- Enter the verification code delivered to your inbox.
- Alternatively, click Login with email and password instead and enter your credentials.

Step 2: Connecting to a PC Matic Server
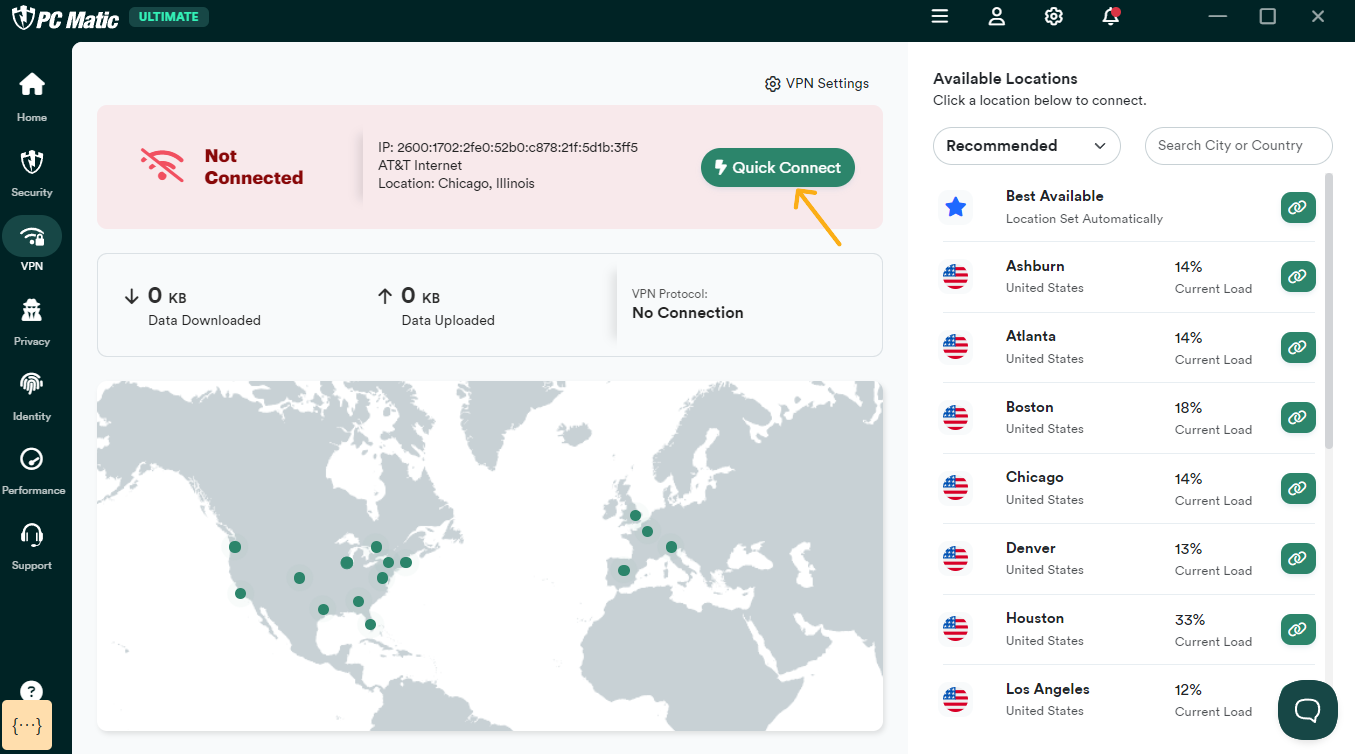
2.1 Using Quick Connect
Quick Connect will automatically connect you to the best available server.
- To use Quick Connect, simply click the green Quick Connect button at the top of the window.
2.2- Manually Selecting a Pc Matic Server
You can also view a list of all available PC Matic Servers and select the one that you want to connect to.
- From the dashboard, scroll through the recommended locations and click the “green chainlink button” to connect, or click a location on the map to connect.
- Click “Search city or country” next to the recommended list if you wish to connect to a specific country outside of the United States or within the United States.
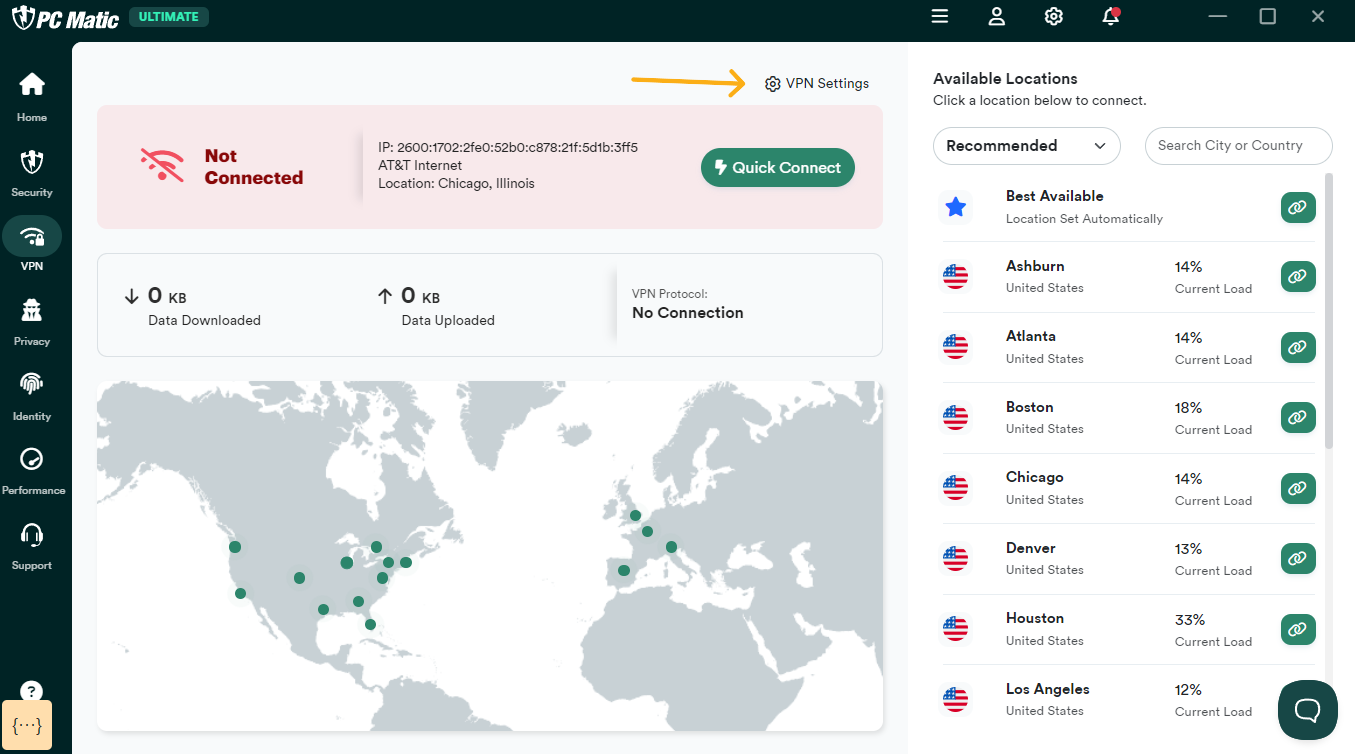
Step 3: Configuring PC Matic VPN Settings
You will find the configuration options for the PC Matic VPN on the Settings page.
Step 4: Locate the “Kill Switch” Toggle
Within the Security settings area, you will find a list of specific features. Scroll down if necessary until you locate the “Kill Switch” feature. By default, this is likely set to the “Off” or a grayed-out “Disabled” position.
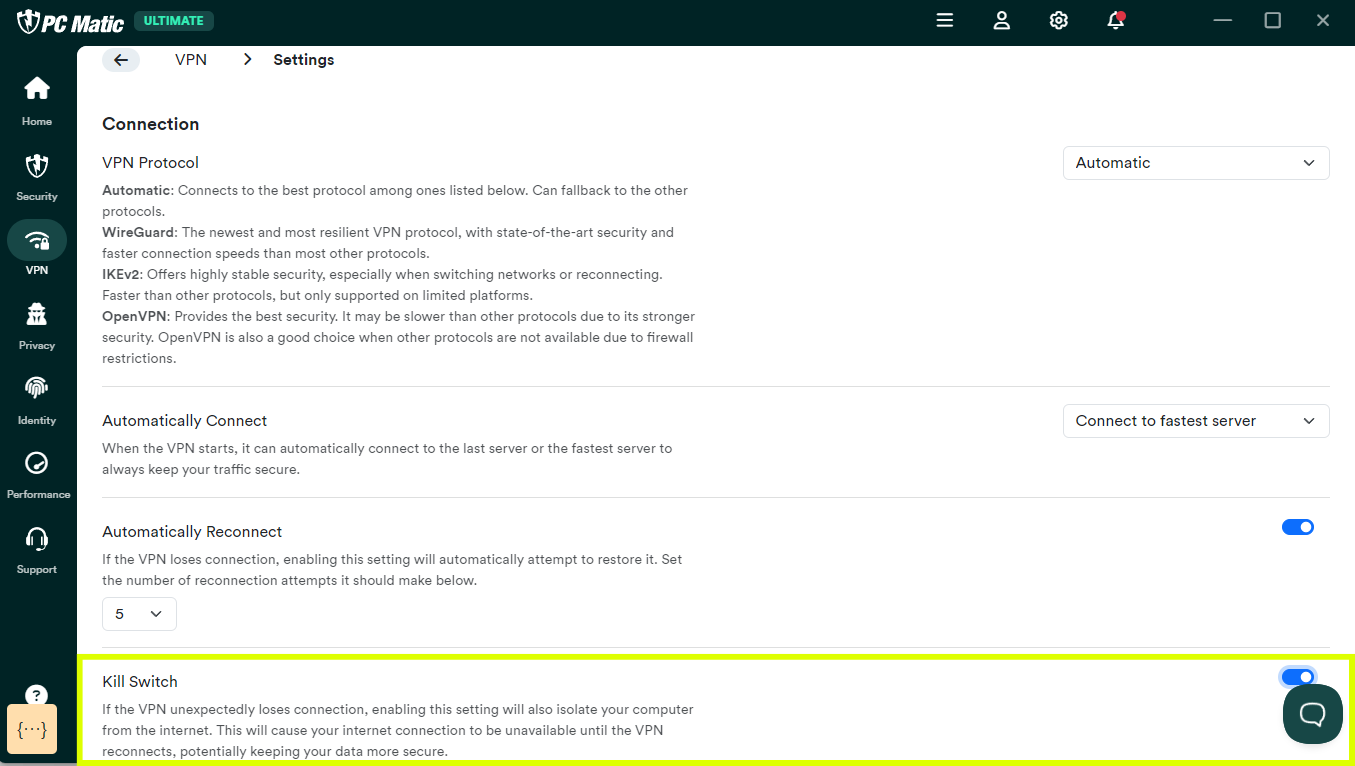
Step 5: Enable the Kill Switch
Click the toggle switch or checkbox next to the “Kill Switch” label to change its position. The switch will slide to the right and turn blue to indicate that it is now “On” or “Enabled”.
That’s it! Your PC Matic VPN is now configured with the kill switch enabled. When you connect to a VPN server, the kill switch is active in the background, ready to protect your data.