If you are experiencing problems relating to the WMI (seeing application errors or scripts that are no longer working), you may have a corrupted WMI repository. With the steps below we can work through how to fix this problem.
Windows XP and Windows Vista
1.Click the start menu in the lower left corner.
2. In the search box, type command prompt and choose command prompt from the list.
2a. VISTA ONLY If you are using Windows Vista you will need to run the command prompt as an administrator. To do this click start, choose all programs and click on Accessories. Find Command Prompt in the list and right click on it. Choose Run as Administrator from the list.
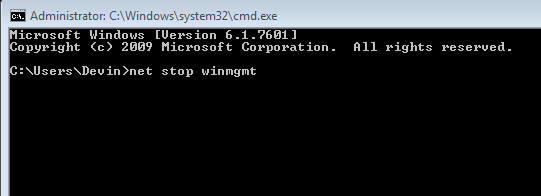
3. Type the following command in and press enter.
net stop winmgmt
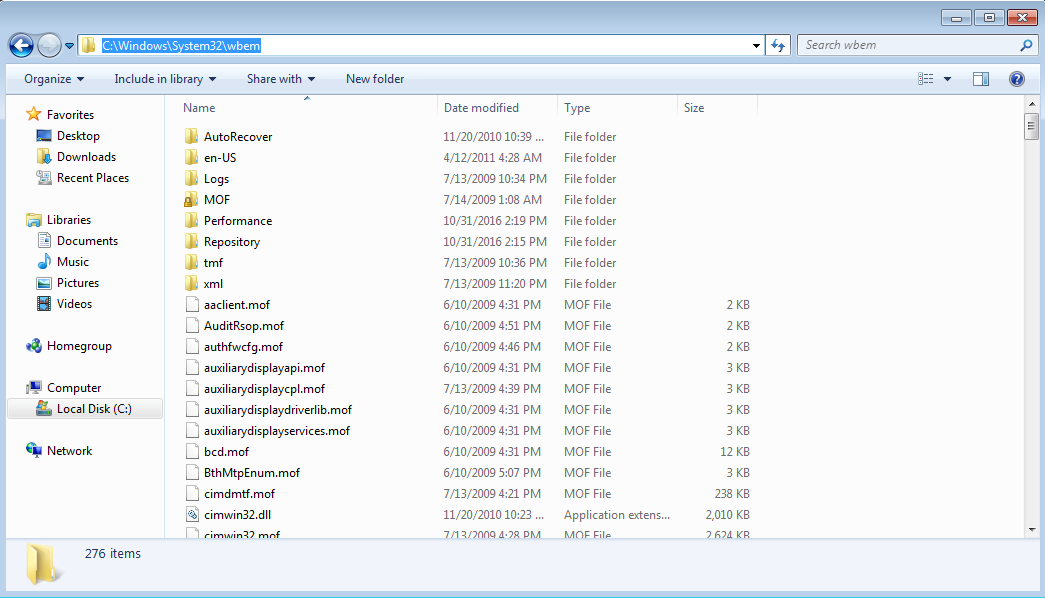
4. Using Windows Explorer, rename the folder %windir%\System32\Wbem\Repository. (For example, %windir%\System32\Wbem\Repository_bad). %windir% represents the path to the Windows directory, which is typically C:\Windows (See photo below for path and folder name).
5. Switch back to the Command Prompt window, or follow the beginning steps to open it again if you’ve closed it.
6. Type the following and press ENTER after each line:
net start winmgmt
EXIT
Move to the corresponding operating system for step 7 to rebuild the WMI.
Windows XP
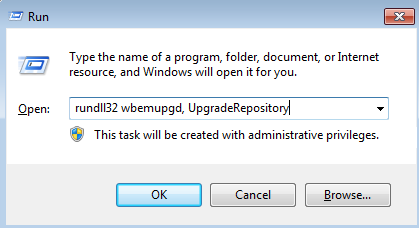
7. Click Start and type Run in the search box. Choose the top option in the list.
8. Type in the following command and click Okay.
rundll32 wbemupgd, UpgradeRepository
This command is used to detect and repair a corrupted WMI Repository. The results are stored in the setup.log (%windir%\system32\wbem\logs\setup.log) file.
Windows Vista
7. Click start, choose All Programs and then click Accessories.
8. Right click on Command Prompt and choose Run as administrator.
9. Type the following command and press enter:
winmgmt /salvagerepository
The above command Performs a consistency check on the WMI repository, and if an inconsistency is detected, rebuilds the repository. The content of the inconsistent repository is merged into the rebuilt repository, if it can be read.
Reregistering the WMI Components
The .DLL and .EXE files used by WMI are located in %windir%\system32\wbem. You might need to re-register all the .DLL and .EXE files in this directory. If you are running a 64-bit system you might also need to check for .DLLs and .EXE files in %windir%\sysWOW64\wbem.
To re-register the WMI components, run the following commands at the command prompt. Press enter after typing each line. Remember to replace %windir% with the corresponding path name, most likely C:\Windows . (See photo below for the path name example)
- cd /d %windir%\system32\wbem
- for %i in (*.dll) do RegSvr32 -s %i
- for %i in (*.exe) do %i /RegServer
Note that none of the above two methods restore the missing files related to Windows Management Instrumentation (WMI). So, below is a comprehensive repair procedure that restores all the missing WMI modules. In case of missing WMI modules, you may use the following method.
Comprehensive rebuild method
Important note: If you’ve installed a Service Pack, you need to insert your Windows XP CD with Service Pack integration (called as the Slipstreamed Windows XP CD). If you don’t have one, you may point to the %Windir%\ServicePackFiles\i386 folder for a recent version of the system files required during WMI repair. Or you may create a slipstreamed Windows XP CD and insert it when prompted.
7. Click Start and type Run in the search box. Choose the top option in the list.
8. Type in the following command and click Okay.
rundll32.exe setupapi,InstallHinfSection WBEM 132 %windir%\inf\wbemoc.inf
Insert your Windows XP CD into the drive when prompted. Repair process should take few minutes to complete. Then restart Windows for the changes to take effect.
That’s it, you’ve made it to the end of the How To guide! Great work!