
Windows 10 operating system offers a variety of sign on options. These options range from signing on with a password, pin and/or a picture. You also have the option to require the sign on function to be enabled each time the computer “wakes up from sleeping”, or never use the function. Follow the steps below to access these features and make whatever edits you’d like to personalize your sign on experience.
Changing Windows 10 Sign On Options
First, you will need to access your system settings, which you can do by typing “Settings” into the search bar by the Start menu, or by going into the Start menu and accessing “Settings”. Upon doing so, you will see this screen:
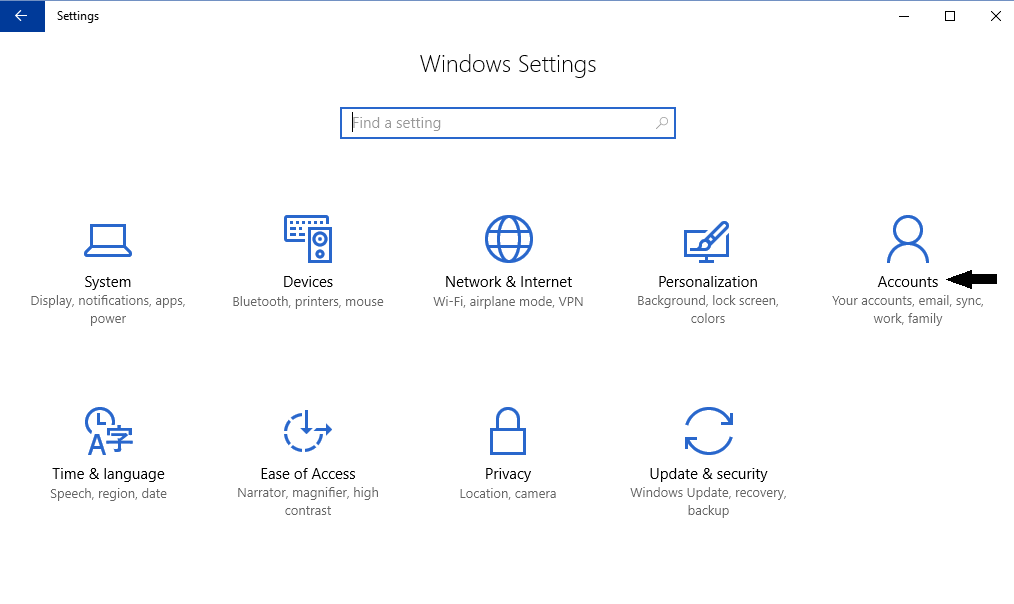
From here you will want to click on “Accounts”. This will populate the screen below:
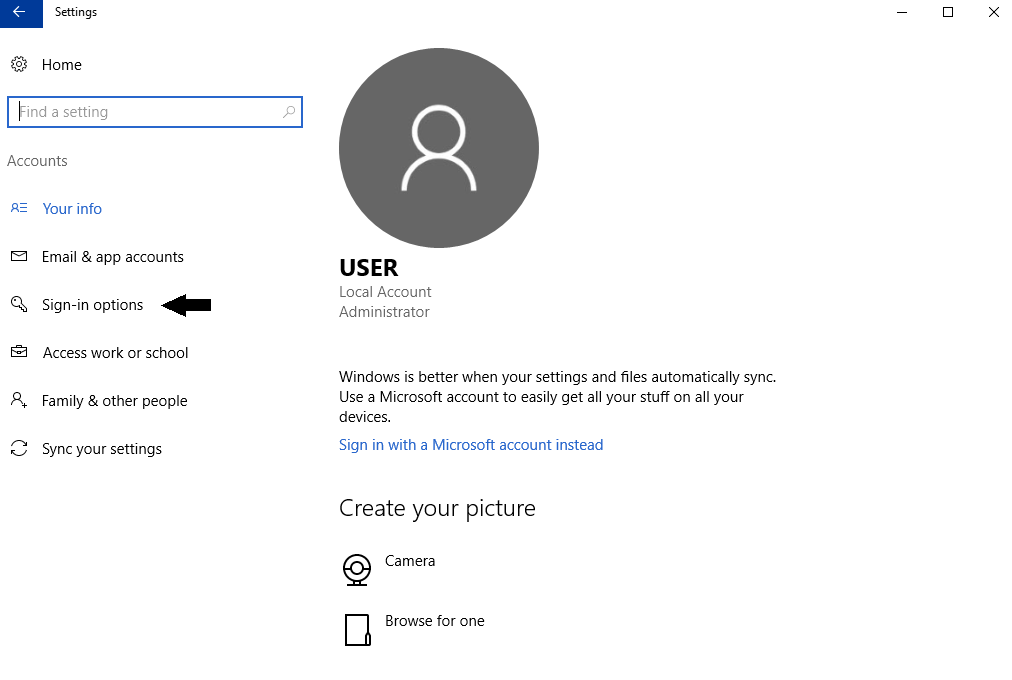
Then click on “Sign On Options”, which will bring up this screen:
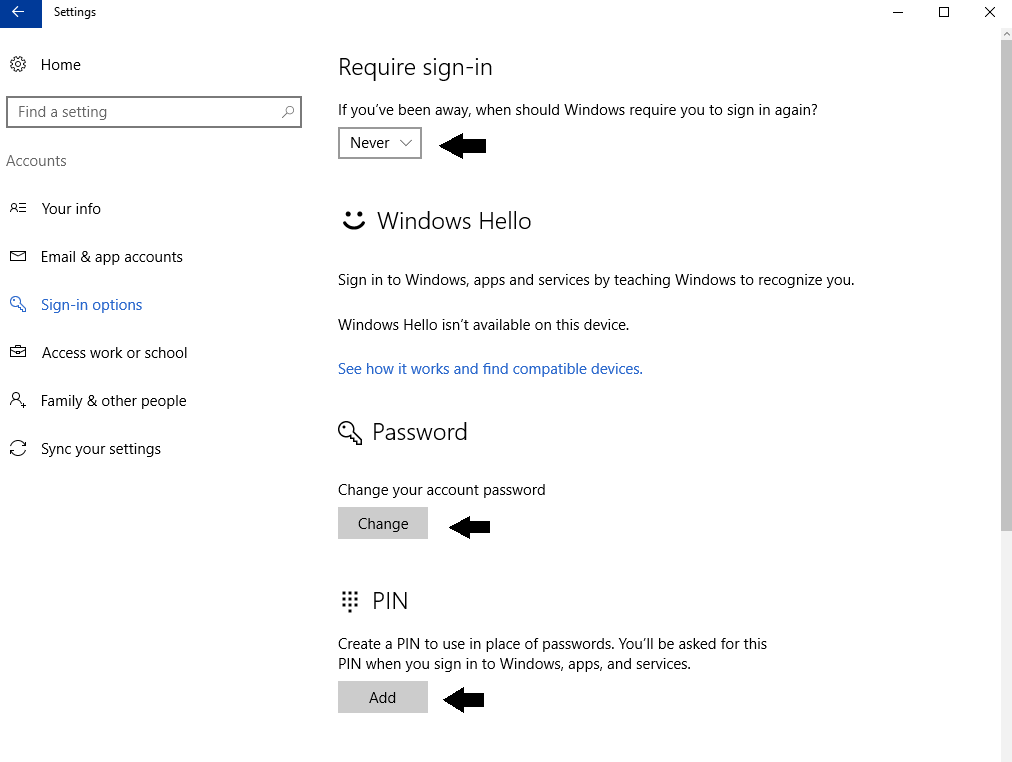
Yours may look a bit different, depending on which options you already have enabled. Instead of “Change” you may have “Add” and vice versa. From here, you can add various sign on requirements, including a password, pin and/or picture. The screenshot above does not show the picture option. To access this, you will need to scroll down. As you do so, you will also see the option to turn on or off a privacy setting. This privacy setting enables your account information to be viewed on the Windows 10 lock screen.
Also, as mentioned at the beginning of the post, you can enable these sign on options every time your computer “When PC Wakes Up From Sleep” or “Never”. You can change this by accessing the drop down menu at the top of the sign on options screen.
As always, I hope you found this tutorial helpful. If you have any suggestions on what you’d like us to feature in future “How-To’s” comment below!